I recently decided I didn’t want to use Dubsado embedded forms unless it was absolutely necessary, because they can be slow to load. My new website is heavily focused on performance, so this wasn’t going to suit me. I wanted to use Gravity Forms for performance and accessibility, but have it connect to Dubsado to create the lead project so I wouldn’t have to do it manually. Gravity Forms and Dubsado both have third-party integration with Zapier, and I was determined to come up with a solution, even though Dubsado’s action options in Zapier are really limited.
Read below to see how I set it up.
Gravity forms settings
Firstly, I created the basic contact form in Gravity forms (obviously), which asks for the following:
- Type of service requested
- First name
- Last name
- Business name
- Any further comments.
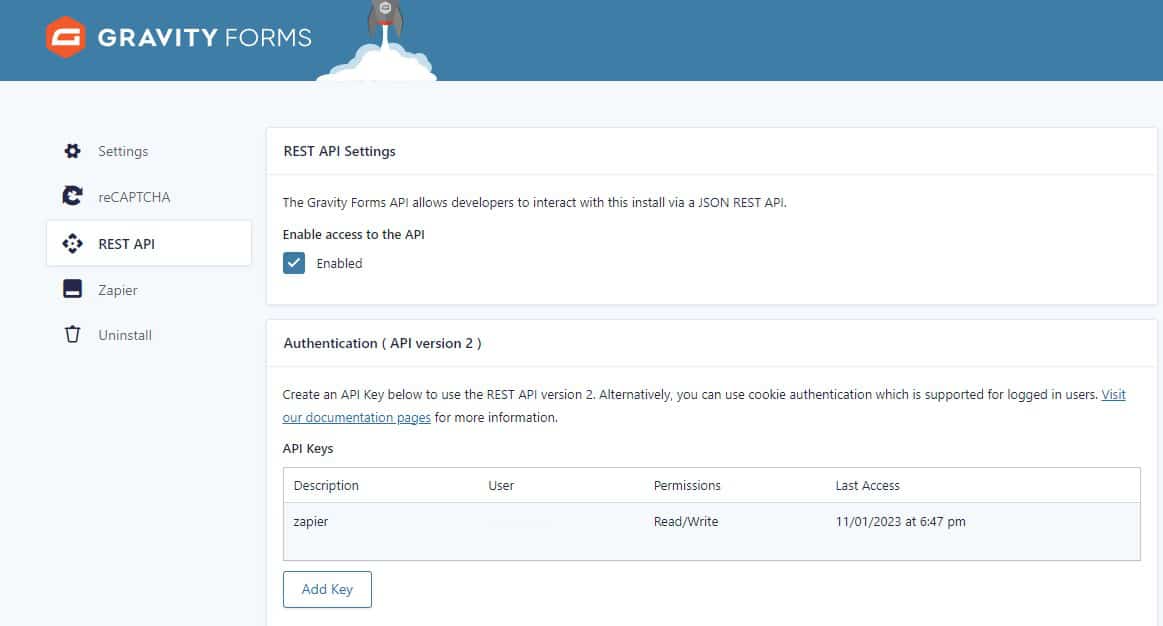
Under the Gravity Forms settings, I needed to open up the REST API to connect with Zapier. I created a new API (version 2), named it ‘Zapier’ for identification, gave it Read/Write permissions, and then copied the keys into a temporary document while I moved on. One is a secret key, so you need to make sure you remember which is which.

Dubsado settings
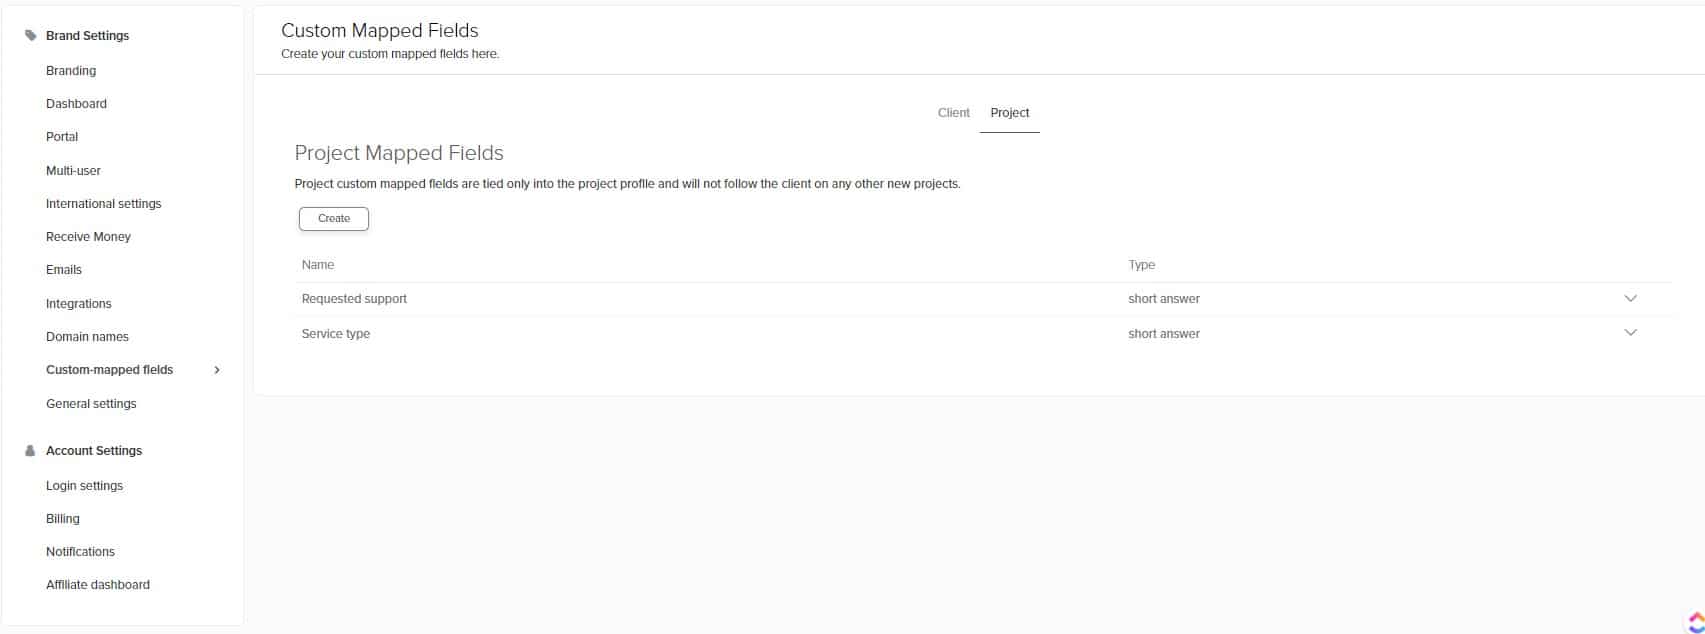
To be able to gather the service information and comments in Dubsado, I needed to create two custom-mapped short answer fields for projects, under the settings of my account.

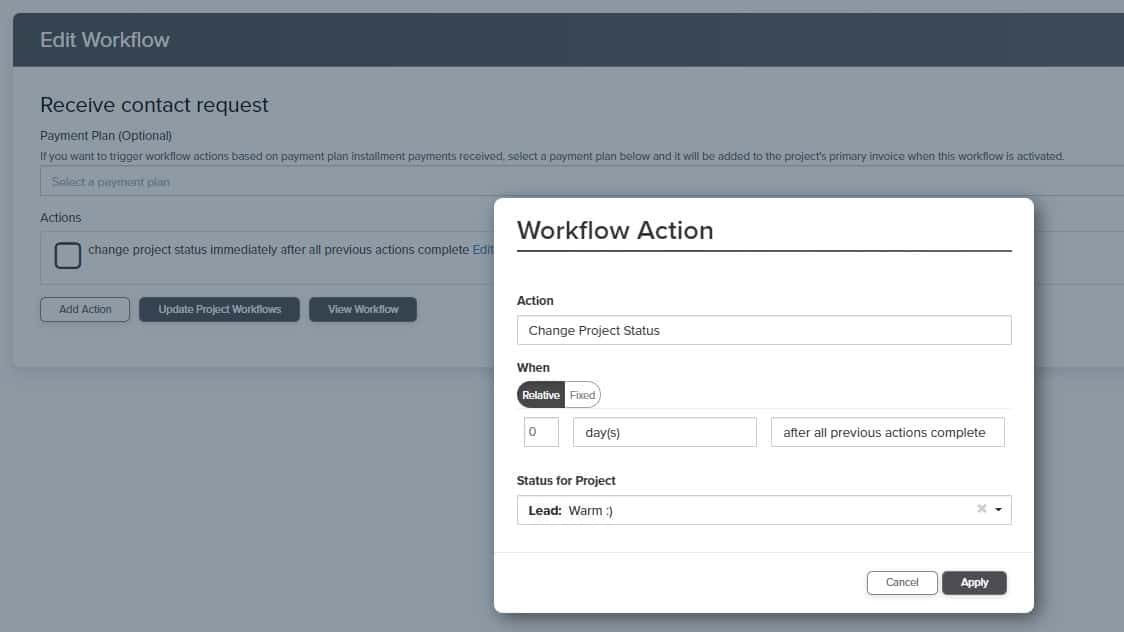
Next up, I needed to create a very quick workflow in Dubsado, because Dubsado requires a project workflow in the trigger. For this I simply called it ‘Receive Contact Request’, and then set the Action to ‘change project status immediately after all previous actions complete’, with project status set to Lead: Warm.

Creating the ‘zap’ in Zapier
In Zapier I needed to create a ‘zap’ with Gravity forms as the trigger. Firstly, I needed to connect Gravity Forms. Gravity forms asks for your website URL, and the two API keys I mentioned earlier. Once they are set up you can start building out the trigger.
Setting up the trigger
Firstly, I selected the ‘Create project in Dubsado when form submission in Gravity Forms’ option. You will then need to select which Gravity forms connection to use. You will likely only have one. Then I proceeded with the following steps:
- Form: In this case I connected my contact form.
- Use Admin Field Labels: I selected ‘Yes’.
- Unique Name: I just called it ‘Contact form’.
Setting up the action
For the action, I used ‘Create Project in Dubsado’. Then you choose your Dubsado account. After that you fill out the remaining step details, starting with the Project Workflow created earlier. So in my case, it looked like this:
- Project Workflow: Receive contact request
- Client Company: Name – choose the Business name field from Gravity Forms (GF)
- Client First Name – choose Name First field from GF
- Client Last Name – choose Name Last field from GF
- Client Email – choose Email Address field from GF
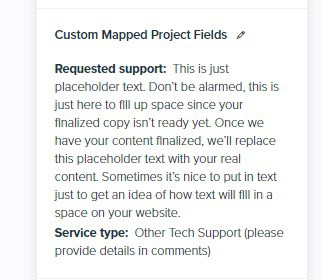
- Project Mapped Field: Requested support – Choose Comments field from GF
- Project Mapped Field: Service type – Choose Service field option from GF
Once everything is mapped, you can test the zap out. I already had a form in GF from testing the form during website testing, so it was quick to run the test. The test was successful, and I checked Dubsado had done what I wanted it to do. I then submitted another GF form with longer text in the comment field so I could see if there would be any issues with longer comments coming in.


This is a great way to improve the performance on your WordPress contact page, rather than using an embedded form from Dubsado. You should be able to do this with other form plugins that can connect to Zapier as well. If you use a different plugin and would like to know if it definitely can be achieved, send me a message.


